Creality Red Metal Large Hand Twist Bed Leveling Nuts and Die Mold Spring Kit 4pcs (MT0493) Products
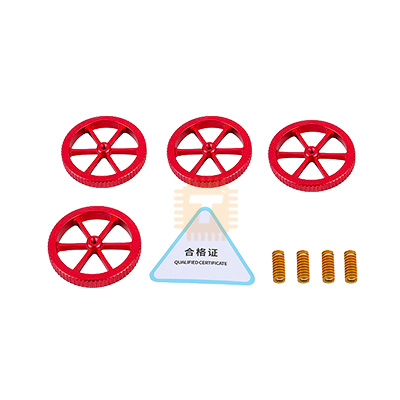
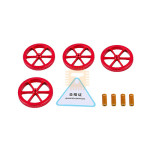
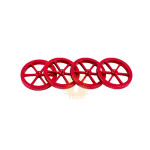
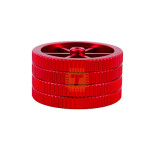
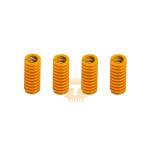
| Name | Creality Red Metal Large Hand Twist Bed Leveling Nuts and Die Mold Spring Kit 4pcs |
| Code | MT0493 |
| Price | Rs.750.00 |
| In Stock | Yes |
Product Details
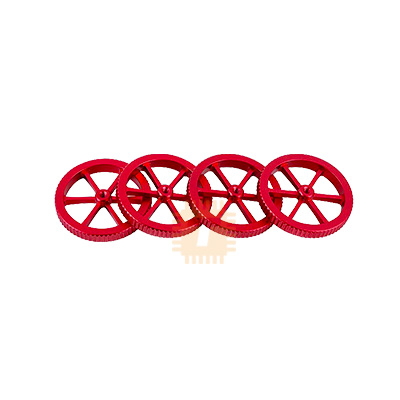
The Creality Red Metal Large Hand Twist Bed Leveling Nuts and Die Mold Spring Kit (4-Piece Set) is an essential mechanical upgrade designed to enhance bed leveling stability and ease of adjustment on desktop FDM 3D printers. Featuring oversized CNC-machined anodized aluminum adjustment wheels paired with heavy-duty, flat-section yellow die mold compression springs, this kit eliminates bed shifting caused by printing vibrations and significantly reduces the frequency of manual bed re-leveling.
Specification
- Kit Contents: 4 x Large Red Aluminum Leveling Nuts + 4 x Yellow Heavy-Duty Bed Springs + 4 x M4 Leveling Screws
- Nut Outer Diameter: Approx. 58mm - 60mm (Large Hand Twist Profile)
- Nut Height: Approx. 8mm - 9mm
- Nut Internal Thread: Standard Metric M4 Thread (M4 x 0.7mm)
- Nut Material: High-Strength CNC Anodized Aluminum Alloy
- Spring Type: Industrial Flat-Section Rectangular Wire Die Mold Springs
- Spring Classification: Light Load (Yellow Color Standard)
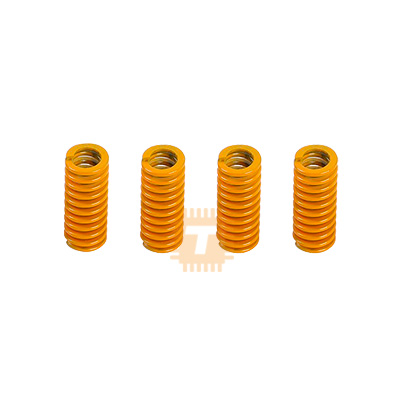
- Spring Dimensions: Outer Diameter 8mm, Inner Diameter 4mm, Length 25mm (8x4x25mm)
- Spring Material: High-Grade Spring Steel (Fatigue and heat resistant)
- Screw Specification: M4 x 35mm / 40mm Countersunk Stainless Steel Screws
- Printer Compatibility: Fits Creality Ender-3, Ender-3 Pro, Ender-3 V2, Ender-3 Max, Ender-5, Ender-5 Pro, Ender-5 Plus, CR-10, CR-10S, CR-20, and most FDM 3D printers with M4 heatbed mounting studs.
Features
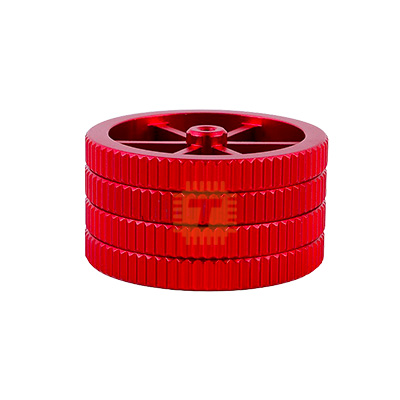
- Oversized Knurled Grip Diameter: The wide 60mm diameter wheels provide substantial leverage and fine tactile feedback, allowing effortless, micro-precise manual leveling adjustments without finger strain.
- Rigid Yellow Die Springs: Made from flat-wound rectangular spring steel, these die mold springs are significantly stiffer than flimsy factory round-wire springs, keeping the print bed securely locked in place against aggressive print head accelerations.
- Durable All-Metal Anodized Construction: The red anodized aluminum nuts resist warping, stripping, and heat fatigue from heated build plates, ensuring consistent long-term performance compared to stock plastic thumbwheels.
- Reduced Need for Frequent Re-Leveling: The increased spring preload and solid metal nut seating prevent vibration-induced loosening, allowing you to maintain an accurate first-layer squish across dozens of consecutive print jobs.
- Universal Drop-In Replacement: Directly replaces factory thumbwheels and springs on standard 4-point mounting heated beds with no modifications required.
Common Applications
- Print Bed Stability Upgrade: Replacing stock plastic leveling nuts and weak springs to improve bed stability and first-layer print adhesion.
- High-Speed & Acceleration Printing: Preventing bed drift and uneven leveling caused by intense Y-axis vibrations during high-speed printing routines.
- Routine 3D Printer Maintenance: Upgrading worn, sagging, or stripped heated bed leveling components on Creality Ender-3 and CR-10 series printers.
Professional Installation and Maintenance Tips
- Compress Springs Halfway During Initial Setup: When assembling the bed, tighten the four red aluminum nuts down until the yellow springs are compressed to approximately 50% to 60% of their free length. This provides sufficient spring tension to prevent nuts from loosening under vibration while leaving room for fine-tuning.
- Adjust Z-Axis Endstop Switch Position: Because these 25mm yellow springs are often slightly longer and stiffer than stock factory springs, the overall height of your print bed may increase. Loosen and raise the mechanical Z-endstop switch on the vertical frame slightly before homing to prevent the nozzle from crashing into the bed surface.
- Level at Operating Temperature: Always carry out your final leveling adjustments while the build plate and hotend are pre-heated to their normal printing temperatures (e.g., Bed 60°C, Hotend 200°C) to account for thermal expansion of the aluminum heatbed.
- Perform Leveling in Diagonal Passes: Adjust the four corners in a cross/diagonal pattern (Front-Left, Rear-Right, Front-Right, Rear-Left) across two or three iterations to ensure balanced tension across all four mounting studs.
Sharing is caring, show love and share the product with your friends.
Featured


Add to Cart

Add to Cart